Sunday August 28, 2016 Guerneville CA.
Modifying the transfer case linkage, or getting it to work
Today was another van work day. First thing I needed to do was figure out how to make the transfer case shifter shift. I thought it was in low, but when I started the engine and tried to move, it was in neutral. I adjusted it and got it in some gear, but found I needed to add some to the shifter rod as the linkage was too short to make it work.
Much thought
After much thought, I decided to add one of the turn buckles I had as they are easier to adjust and all I had to do was take the old type off and thread the turn buckle on, so that wasn’t’ too hard. But I did need to take the sharp corners off the metal reinforcement brackets as one of them was catching on the van floor.
This is the transfer case shift linkage, about six feet long. I will put the turn buckle on shown to the left.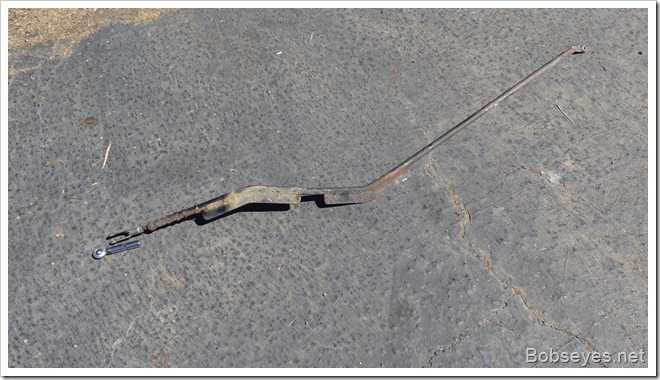
I ground the corners off the metal brackets and installed the turn buckle which now looked like this.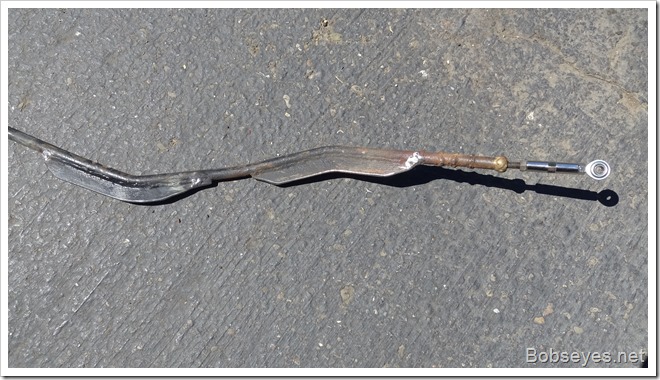
The completed work ready for some paint.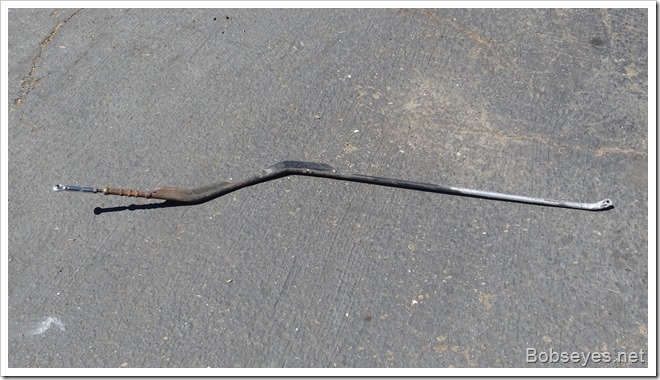
Close up of the new turn buckle on the transfer case shift linkage.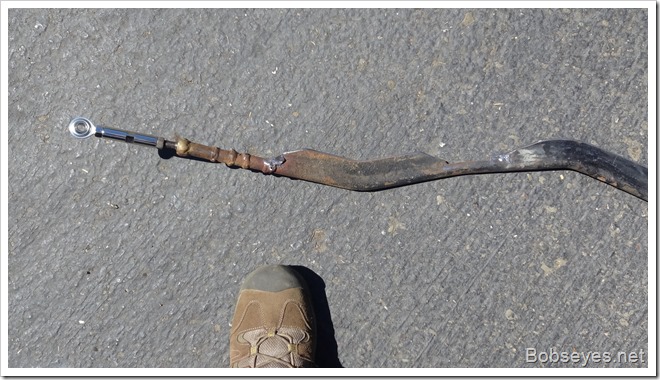
I painted the shaft and had to wait for the paint to dry before I could install it.
Engine ready to cover up
So I had the engine ready to be covered up with the engine cover.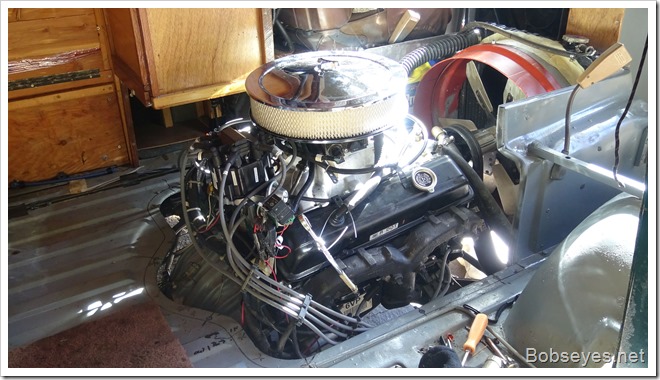
I slipped on the rear engine cover and it looked like this.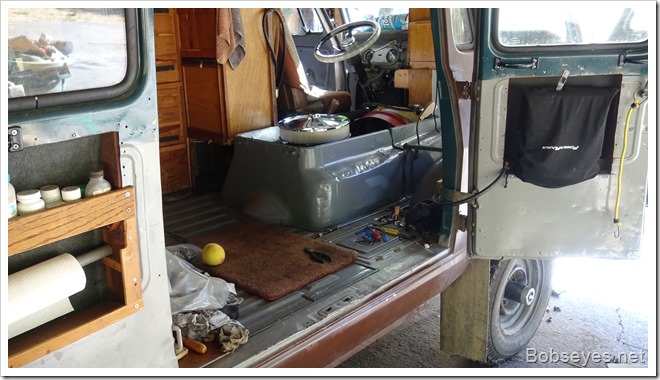
I didn’t realize things were going to be so tight behind the distributor, so I spent some time moving those rear plug wires so they aren’t crimped and hitting the back cover.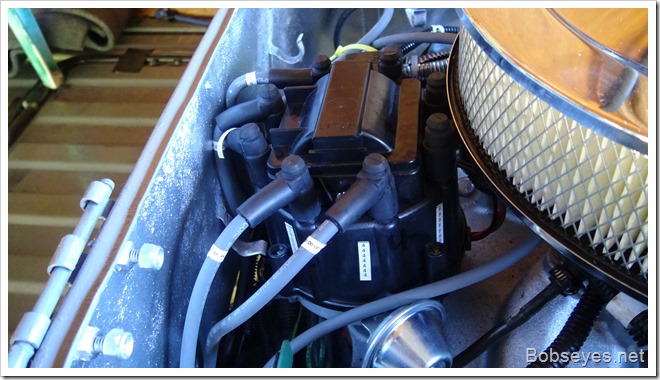
Hood seal
It was now time to install the new rubber engine hood seal which I did without too much difficulty.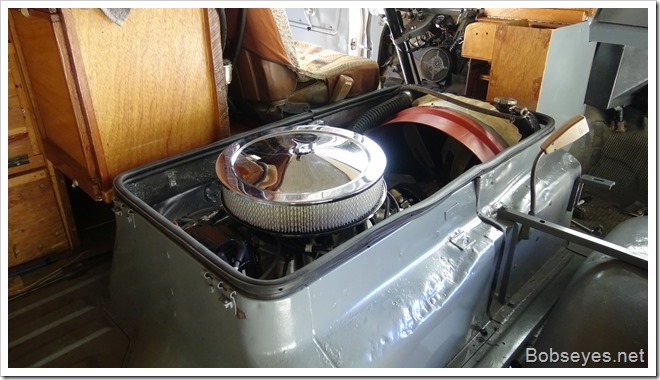
And the engine hood cover
I installed the engine hood for the first time. It fit, but the hinges at the back were too tight. They have slots for adjustment, but they are at the end of the slots, so I will have to take the hinges off and file the slots longer. I want the hinges to work easily as they will have to be unpinned to remove the hood and rear cover.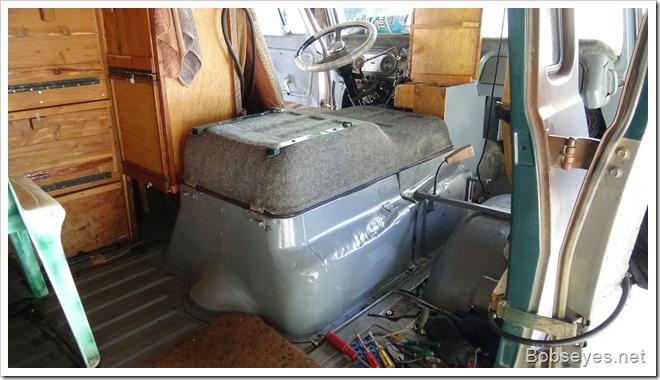
Ready to roll
Ok the van was ready to roll. I cranked her up and it roared out into the driveway. But I thought the transfer case shifter would be in low, but it was in high and it wouldn’t shift. I checked it out some more and realized I now needed to shorten up the shifting rod as it was a bit too long.
All I had to do was remove the rod again and saw a half inch of thread off the end so the turn buckle would screw on further which I did.
Wow it works
I put it back on and tried to put the transfer case into low range. When I pushed down the the lever, it fell right into gear.
To shift up, the van should be moving so I started around the yard impressed with how easily the van now moves. I tried shifting the transfer case up thinking it wasn’t going to go easily, but I was wrong. It shifted right up, more easily than it ever has before, I think.
Good to have that working.
Relieved and impressed
I drove it around the yard about three times and was relieved and impressed. Relieved because after doing all this you never know if it’s all going to work. Did I do the clutch right? Is the engine going to work? Did I do it all right.
I was impressed how smooth the new clutch worked, not too hard to press. And the van seemed to move right out.
Removing some desert dirt
I drove to the faucet and hosed some more of the desert mud off the under side of the van as it would be nice to be clean for the muffler guys. Clean is better than having dirt fall on you while working on it. I had cleaned the parts I had been working on, but hadn’t gotten to the areas I hadn’t been working on.
I also want to put some black paint on it to slow down the rust so getting some of the dirt off is helpful.
Test drive tomorrow
Tomorrow I plan to drive it down the road a couple miles to test it out a bit and finish up a couple more things, like making the slots larger on the engine hood cover and putting the belly pan back on and it should be ready for some mufflers.
Nice productive day.
