Sunday July 17, 2016 Guerneville CA.
Working on the van’s engine compartment
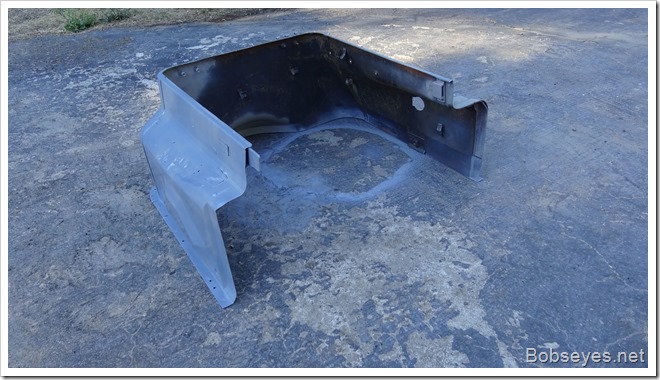
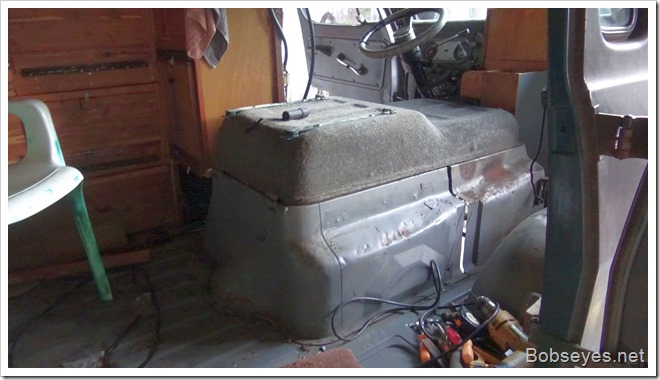
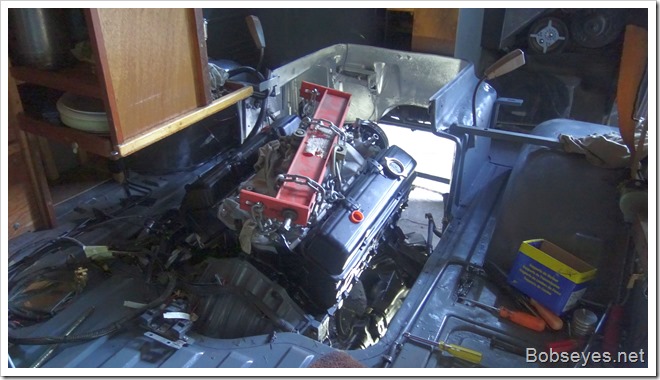
I continued working on the van engine compartment today. I had it all looking like this and now it needed some end seals and some braces to firm it all up.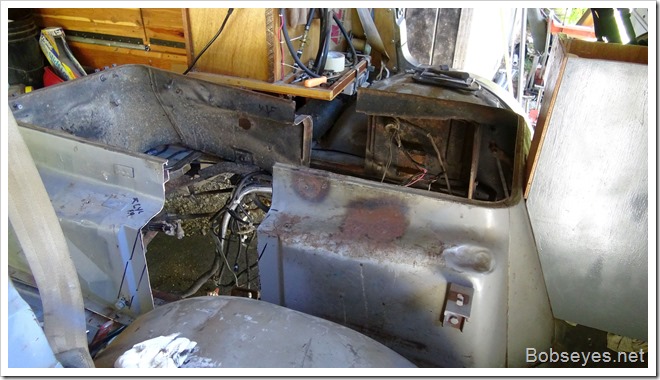
The seal
I applied some weather stripping that had a metal attachment on one side and a rubber circle attached to it for things to seal against. You can sorta see it in the below picture. It’s pushed onto the metal end on the left.
Used this for a brace
As I was working on the seal I decided the hood slider I had to cut through and don’t use would make a nice metal tongue support, so I cut a piece of metal and filed it to fit into the left side about an inch to give the engine compartment some support in this area and it worked pretty good. The pop rivets are holding the piece to the rear side and it slides into the front socket on the left so the rear part can seal against the front.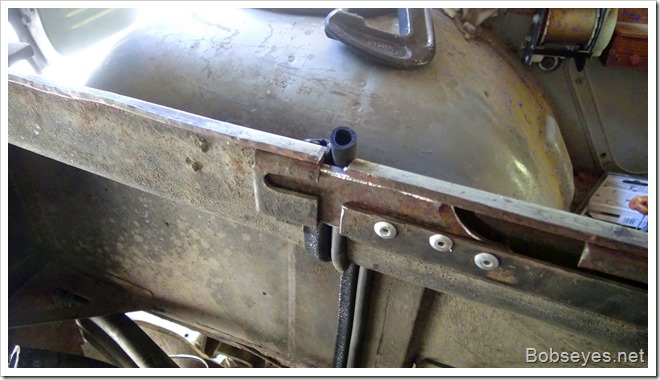
This latch just isn’t going to work
On the drivers side, I applied the seal and decided to try one of these draw latches. The latch is just too small and gets in the way of the rubber seal and isn’t doing it’s job, so I removed it and will do something more like what I did on the passenger’s side.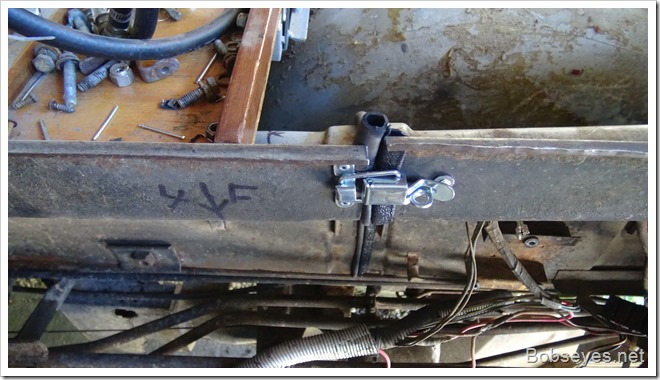
Needed a big hole for the computer sockets to fit through
I needed a new hole in the front half for my computer stuff to get through to the computer I have mounted behind the driver’s seat. You can put these computers in the engine compartment, but the van’s compartment gets real hot so I decided to install the computer behind the driver’s seat when I installed the TBI unit originally.
So now it needed a new hole that had to be big enough to get the wire sockets through too. I cut a two inch hole with the hole saw and then used the channel lock pliers to bend a lip down on the hole to give it a lot more support and make it smoother for the wires. The hole I made is by the end of he channel lock pliers.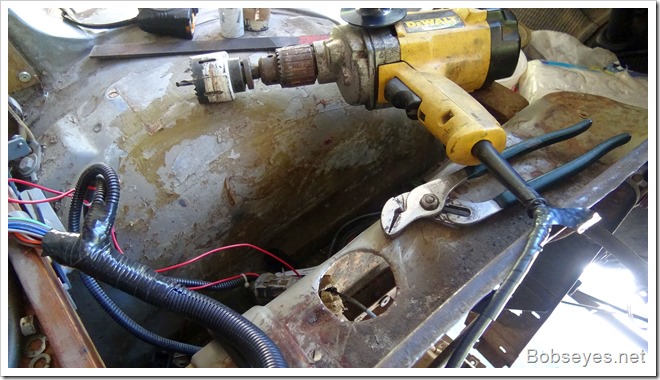
This is the view of the lip I bent from the bottom.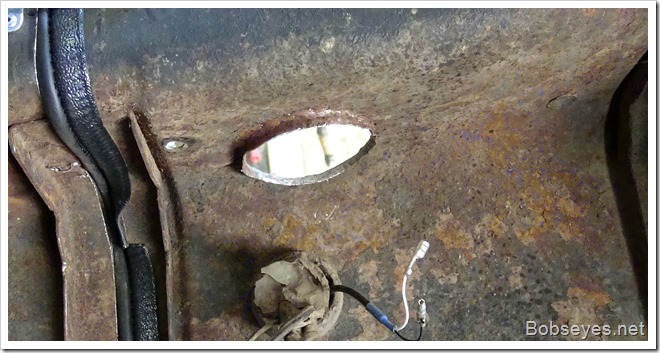
More braces would make this all much better
As I worked on this I could see the sides of the cut engine compartment could use some braces to support the cut front sides. So I constructed these two, one for the driver’s side and one for the passenger’s side. One of the seat mounting bolts goes through each one. I will tighten up the seat bolt first and then drill the brackets for pop rivets to hold it firmly to the engine compartment. I made the cardboard templates off the end of the engine compartment I removed, the rear section. Then I bent the one inch by three sixteenth inch bars to fit them which got me close. Then I hand tweaked them with a vise and a big hammer and a wrench to twist them a bit until I had a pretty good fit. I had to add a piece to the passenger side because the seat hole was on a rib and would make the bar harder to pop rivet to the engine compartment. I also welded a piece on each bottom to hook under the metal floor lip. That bolt will also hold the front engine compartment to the floor more solidly which is important since I cut the rear section off.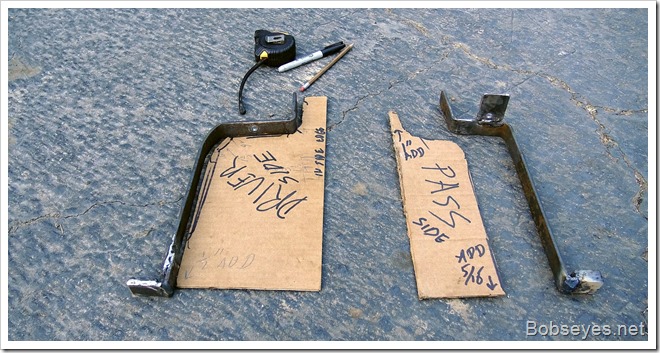
Driver’s side bracket
It’s a little hard to see, but here’s the driver’s side metal brace I made, in place to check the fit. It’s the bar just behind the rubber gasket that looks like a snake.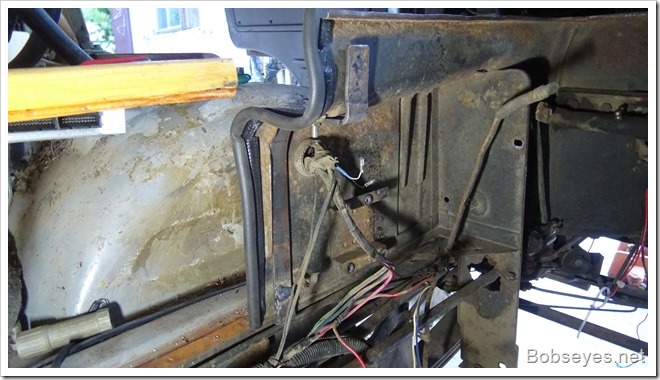
Passenger’s side bracket
Here’s the bar brace installed on the passenger side, just behind the rubber gasket. Only the seat mount bolt is holding it in so far as everything is adjusted around that point.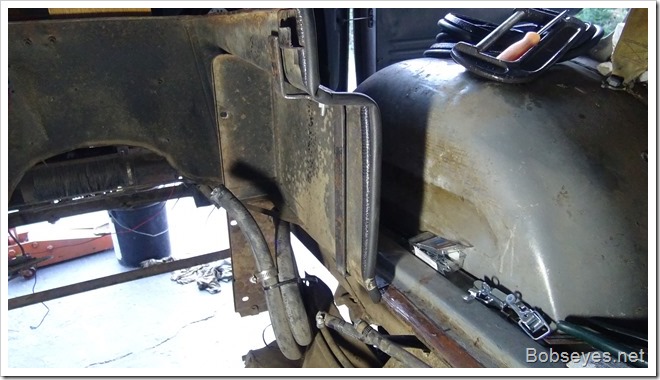
It’s hard to see in the dark
It started to get dark on me and I couldn’t see good enough to do good work, so I quite for the day.
I think if I’d used a window type seal, the type that has an added rib to it to make it seal might have been a better way to go for this as it would have given the ends of the engine compartment a lot more support and some of the other supports I’m building might not have been needed. I didn’t use that type of seal as I wanted it to be easier to seal without having to mess around getting a seal to fit over each metal end piece as may have to be done if using a window rib type seal. If what I have doesn’t work out, it would be easy to change the end seals to something else, but for now I’ll try what I have.
Lots of hand fit stuff
It seems like I didn’t get a lot done today, but I did as what I did was all hand fit stuff that just takes a lot of time. So far I’m satisfied how it’s coming out. I’ve had to change some stuff, but that’s how it goes when proto typing as I’m doing.
Things are moving along on this project, slowly but surely.




Bob,
Yes, my old Chevy van had a V-8. Your patience and ability to fabricate is amazing. The only major mechanical repairs I did to that old van was replaced the automatic transmission. It gave it up coming back from Stonyford one Sunday evening after riding in the jackhammer. Hope to see you at Jenner before long. Ken