Sunday July 31, 2016 Guerneville CA.
V8 gets installed
Today was the day. I had everything I could think of ready to go to install the new Chevy 350 engine in my 1967 van.
I cleaned up the work area a bit, then slid the cherry picker under the van and it began.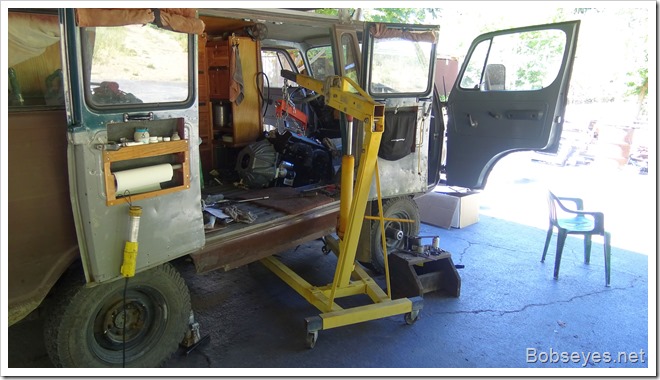
Tilting the engine to get it in
Right away I could see I should not have put some of the engine stuff on the engine yet. I had to tilt the engine to get it under the part of the engine compartment that was still in the front part..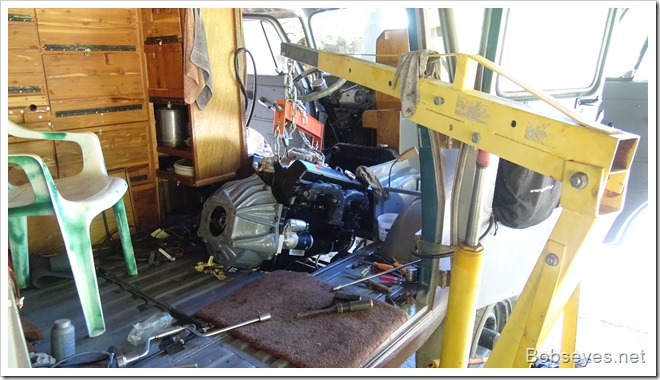
Lucky I had this engine tilter that I borrowed from a friend as it let me tilt the engine which you can see in this picture.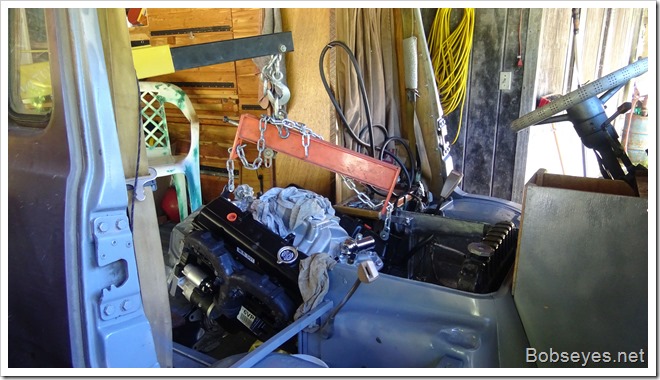
Parts in the way
I got it this far without too much hassle and then the problems began.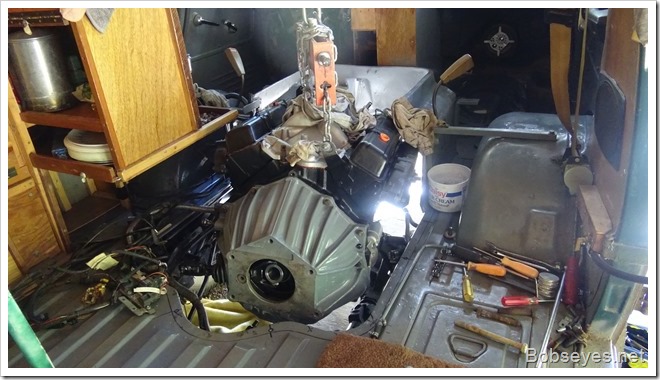
Removing the starter
I had already removed the alternator from the front and now I realized the starter was going to hit the engine mount as I needed to move it all forward to line up the transmission shift from the transmission, so I removed the starter.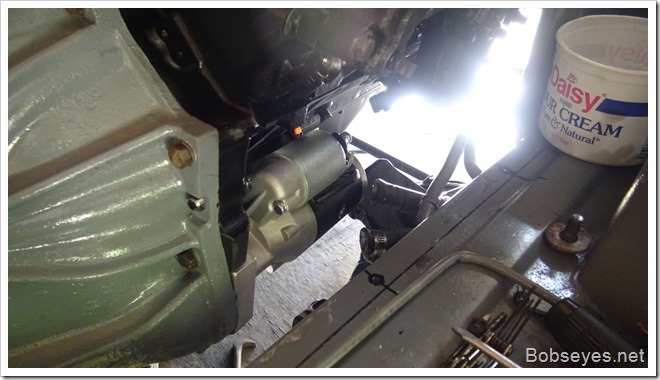
Exhaust manifolds need to be removed too
I moved the engine some more making a little progress, but now I noticed the right exhaust manifold’s exit part was running into the same engine mount so I removed that and almost have it in this photo, but not so fast, things were going to really slow down now.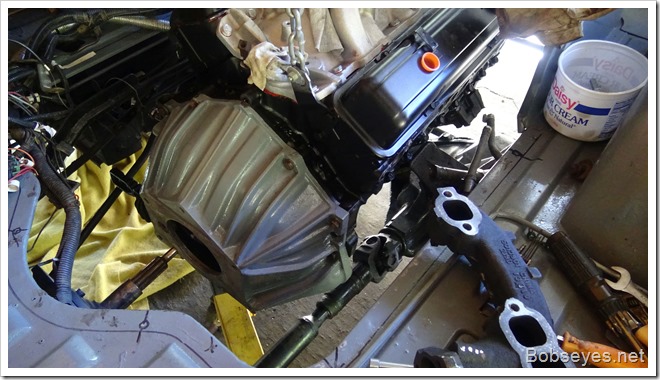
Blood and sweat
I monkeyed around getting the clutch stuff aligned and it finally all fell into place, but not so fast, eh.
Should of done this first
Now I could inspect the engine mounts to see how things were going to line up as the engine was now sitting on the two motor mount pads, one on each side of the engine. Only problem now was the frame engine mounts were about three eights of an inch too far to the back and I couldn’t get the mount bolts started. I messed around trying to line things up when I noticed the van’s frame mounts weren’t riveted to the frame, but were attached with two half inch bolts on each side, so I removed the frame mounts which I should of done before I started, but I didn’t see the hold down bolts as they were hidden under the dirt and grime.
By now I had some cuts and bruises from working on this. I had to put a piece of white tape over one of the cuts I got when the wrench slipped and I smashed my hand into the engine and tore a finger open.
Removing the frame engine mounts
When I got those mounting bolts off, I discovered there were some slots under the bolts, so the frame mounts could be moved a bit so I was able to get it all to line up just as it was starting to get dark.
Here’s the engine in and bolted down..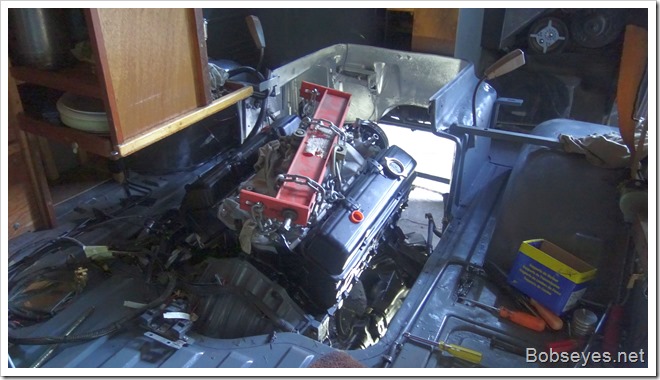
Retrospect
In retrospect, I should of taken off the frame motor mounts at the beginning and I wouldn’t of had to remove the starter and the exhaust manifold and things just would of slid in there with a lot less trouble. It would of also just been easier if I hadn’t put the exhaust manifolds and starter on in the first place.
That all took a lot longer then I thought it would, but now that part is done and I can continue installing the rest of the stuff which should be relatively easy compared to what I had to do today. But the work I did today was critical in that now I know for sure the engine will fit in there on the original motor mounts.
Busy day.


Hi Ken,
Me too. The worst is done for sure. Just little stuff to get going, nothing I can’t handle.
Hi David,
Well, at least mentally. I walk around and say, Vrrrrrrrooooooommmmmmmmm, Vmmmmmmoooooommmmm a lot lately. :O) I will be glad to get it all done and tested out so I can be off on another adventure. This little upgrade pretty much puts my old van in the super van category. It gets new front springs that are much needed once the engine is done and I’m good to go.
That looks so sweet…..I bet you will return to when you were a 20 something when it fires up…
Upriverdavid
Wow, congratulations! Hoping you receive smooth sailing henceforward.