Sunday May 29, 2022 Guerneville CA.
Kit installation
I was about to take a ride up into the hills when I heard the mail lady outside my gate. I knew what that meant. My new solar kit had arrived so I went out to get it from her.
It came in this rather heavy box.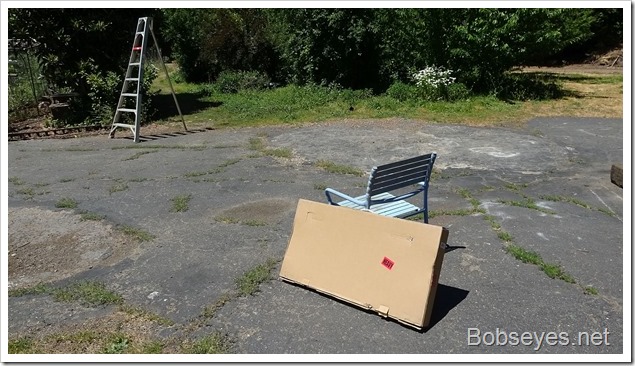
Eager to get started
I was eager to open it up to see what I got and to start planning how I was going to install the components in the van.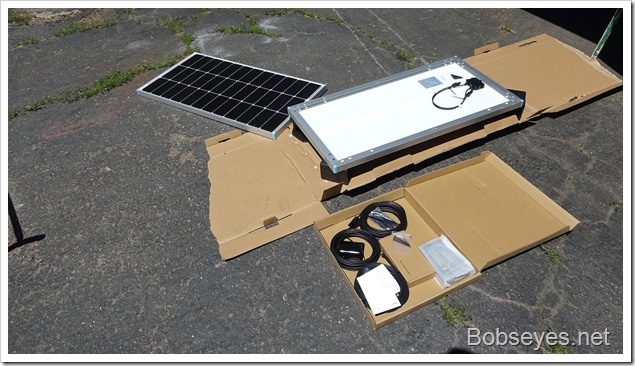
All the hookup cables and hardware and the controller were in this box but not much on the installation was included but it was all just plugged together and not really too hard to do.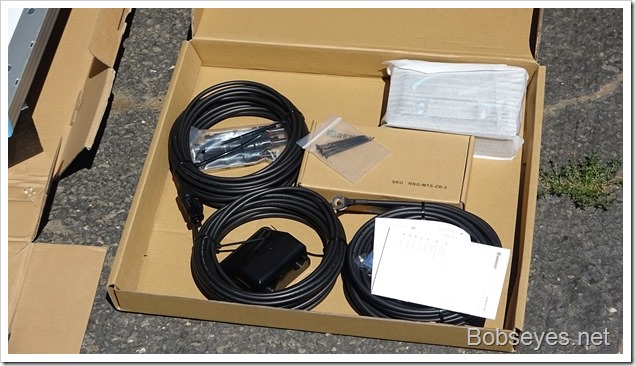
Some research
I went to YouTube to find some more info on the install. There wasn’t really too much even on the manufacture’s webpage. But there was enough as it seemed pretty easy.
I needed to give the install some thought now that I had what I needed to figure it out, so I did some other stuff to think about it.
Weeding the blueberry patch
The blueberry patch was getting over grown with weeds and raspberry vines so I started cutting the stuff out around the blueberry bushes.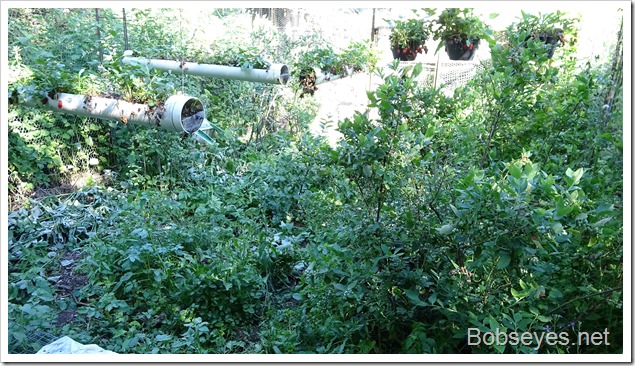
I cut everything down except the potato plants that had volunteered in there. So now I can get to the blueberries on the bushes easier.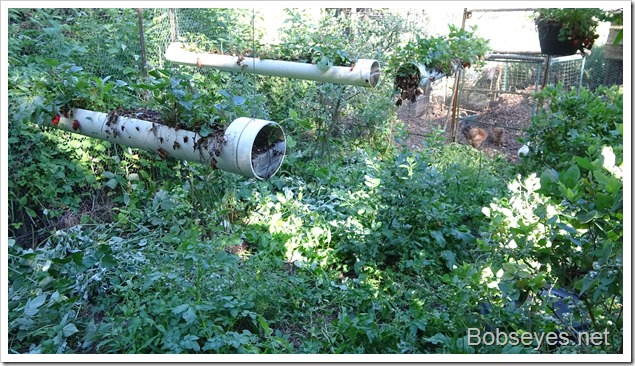
Let’s get started
I spent some time chair hopping and thinking about the install figuring out where to install stuff and how to run the wires, trying parts and wires in different places until I had a plan at least for some of it.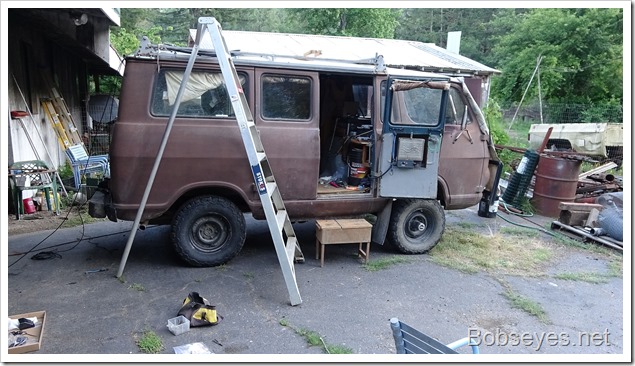
Hinged panels
I stared with the two solar panels. I wanted them on hinges so they could be tilted.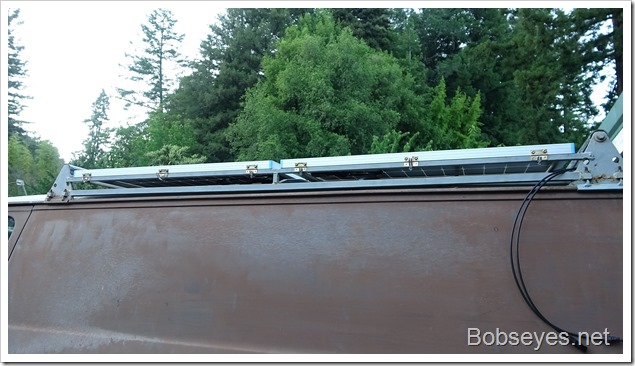
Hinge mount
I also didn’t want to drill into the roof rack because of water getting into the tubing so I came up with this hinge mount with stuff I had around here.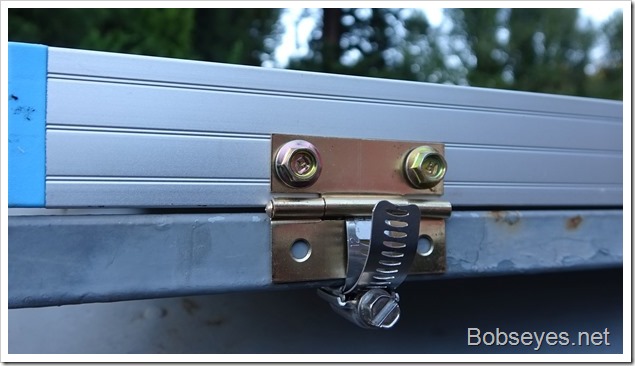
Panels mounted
For now, I’ll jus use a stick or something to rise them up for the sun. At least I got them installed and still can move around on the roof rack a bit if need be. That black thing is plastic pipe I carry with me in case I want to get some water out of s spring or creek.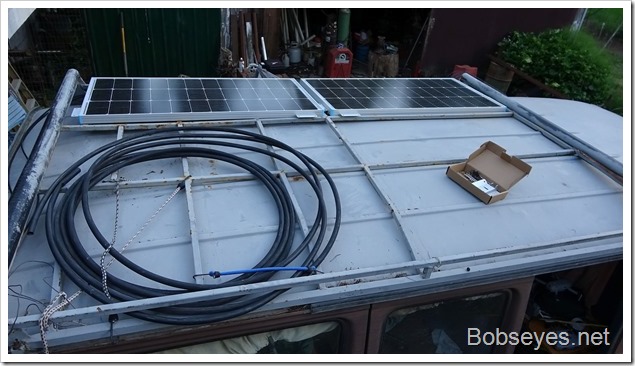
Where to put the controller and how
I needed to mount the controller but things are tight and the screws to mount it would mess these hinged doors up so I had to think on that a bit to get a better idea. I finally dumped the screw-down idea and decided I could put some copper wire through the screw holes to mount it to the little doors so they’d still work to get into the compartments there.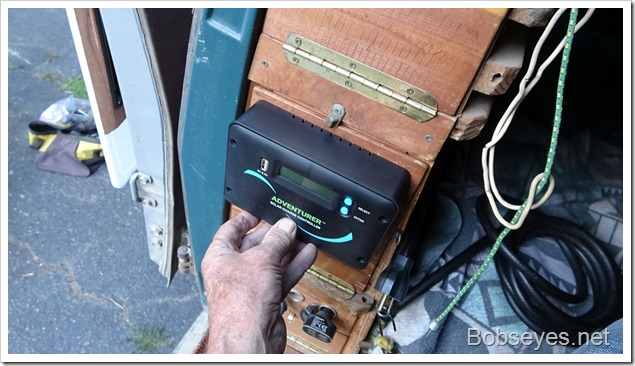
The controller needs four big black wires run to it’s bottom so I had to be able to run them to the box and still have everything work. I think I can do it. And I had do figure out a way to get the wires off the roof and to the controller without drilling holes in the roof as I don’t like to do that as eventually things like that leak. I know that from experience.
I just need to run the wires and hook it all up and that should do it, I hope.
Nice day.


Just to let you know. On my trailer panels installed in early 2008, I went to the bother of being able to tilt them. Since then and with fulltime living in the rig I have never needed to tilt them for charging. I have 350 watts. All of my 12 volt service is from the panel system (batteries). It is completely separate from my 120 volt system in the trailer. All battery charging comes from the panels. My 12 volt charging wiring is sized not by amps but by voltage drop. Turned out that using 10 gage wire was what kept the voltage drop from causing the troubles lots of boondockers I meet have with their charging. They get too much voltage loss between the panels then the controller and then the battery.
Hi,
Good to hear. I’ll just use a stick to rise them to give it the test and then likely just bolt them down as you suggest, much easier, especially for an older guy. Right on with the wiring. A thought I just had. You are near the equator and that might be why you don’t need to tilt your panels. Anyway, I’ll test it out.
Thanks for the info,
Bob