Saturday July 16, 2016 Guerneville CA.
Making the engine easier to work on
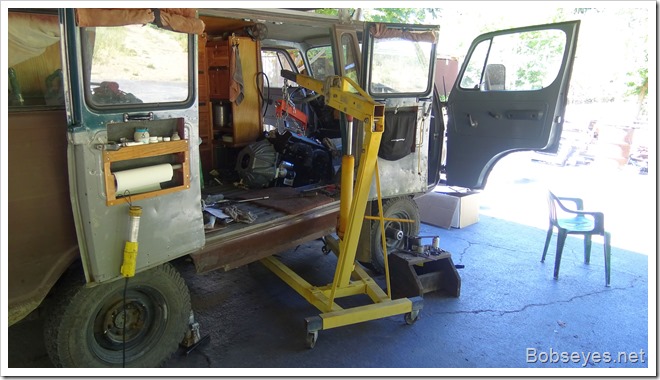
Today I planned to cut the back of the van’s engine compartment off for easier engine access. I had a saws all and a jig saw both with fine metal cutting blades to do the job.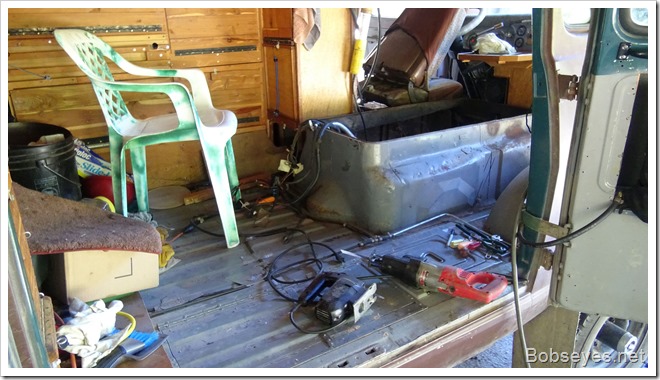
Marked and ready to cut
I had the engine cover marked where I wanted to make the cuts. This is the right side or passengers side marked and ready to cut down along the vertical line. The cuts are just behind the seat mount holes so the seats can remain in the van with the back cover off.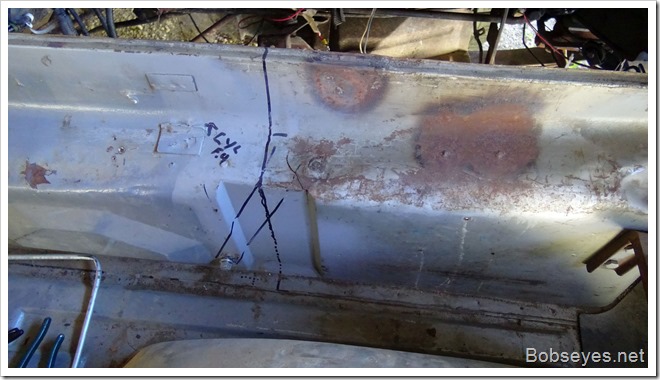
And here’s the left side or the drivers side marked and ready to cut. I suddenly realized I’d be cutting through a brace bracket on the engine side if I cut it in this place so I had to stop and decide what to do. In the end, I decided to make the cut and use the brace to help reinforce the ends.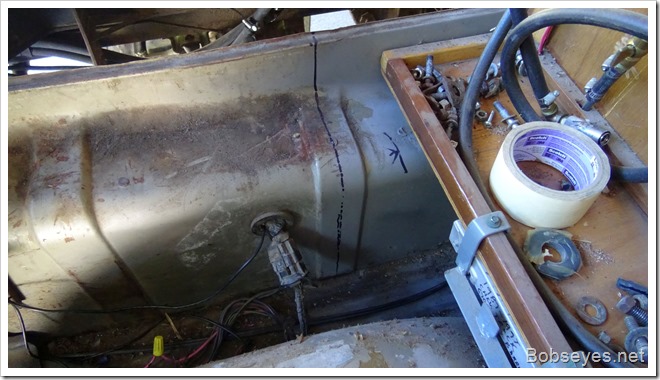
I started the cut with the saws all on the right side and and had to cut through the engine hood slider which I don’t use anyway., but it did make the cut harder to make as things started pinching the blade.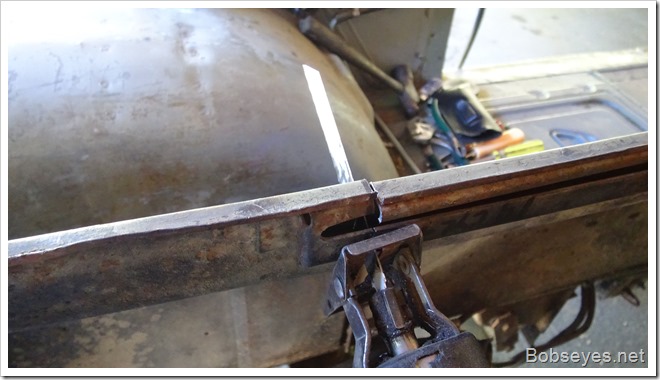
The clamp sure helped a lot
Things were jamming up and pinching the saw blade, so I put a C clamp on the top to pull it together and hold it from vibrating which helped a lot to make the cut quickly. I cut down far enough to insert the saw blade before putting the clamp on. As it was, I didn’t need the jig saw. I was able to feather the end of the saws all blade tip to cut the bottom 1 inch lip on the engine compartment which I thought I might have some trouble with, but didn’t.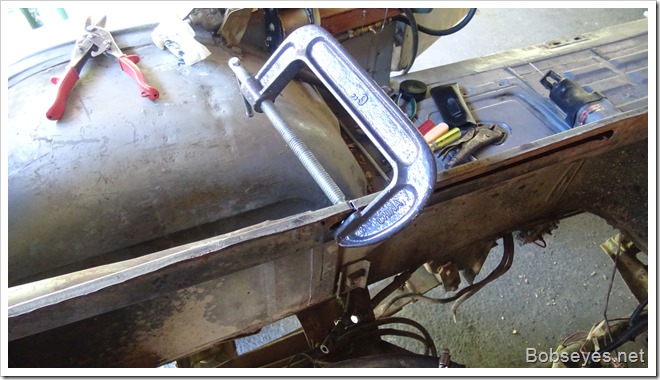
Spot-welds and screws
Once I had both sides cut, I removed the one tack weld I saw and then discovered the rest of it was held down with spot-welds and some sheet metal screws towards the back that had been used to repair a sagging floor that had broken the spot-welds in the back.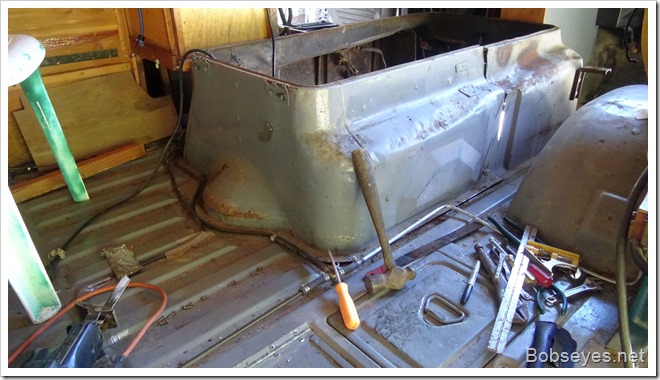
Cutting the spot-welds
I used a flat tipped screw driver to wedge in between the metal pieces from the inside of the engine compartment. I put the tip up against each spot-weld and hit the screwdriver hard with the hammer to break each weld. The hose and metal lines are part of my van propane lines which I removed and will relocate. These are the spot-weld cutting tools.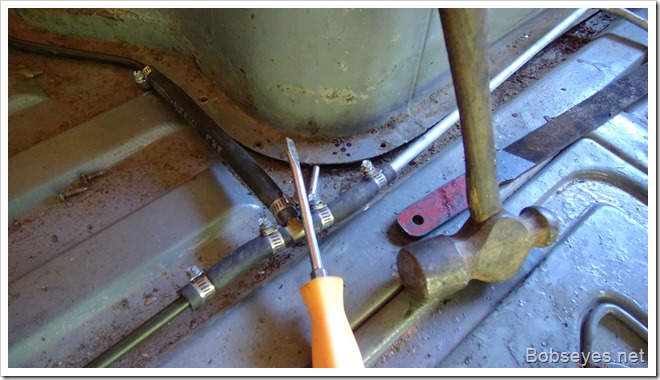
Rear compartment cut and ready to remove
There were a couple sheet metal screws under some goop that resisted my efforts to get the things off for a bit, but I finally found all the hold downs and got it off.
I got it all cut and just got the compartment apart here.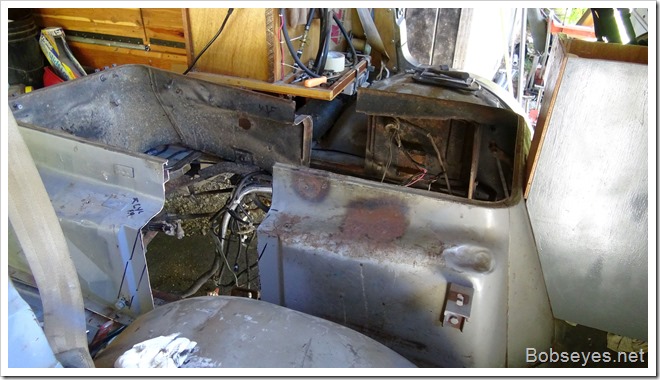
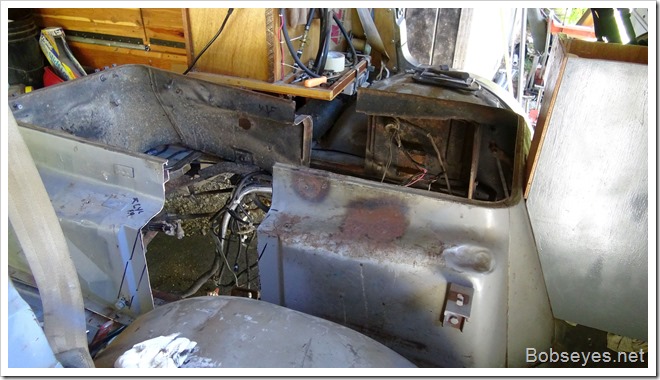
Here’s the rear engine compartment removed and ready to be worked over. I used a pair of channel locks to straighten out metal lips and edges and filed some burrs with a hand file and generally cleaned it up a bit to get ready to screw back down to make it all fit back in, sealed up. Of course it will eventually get some paint, but not yet.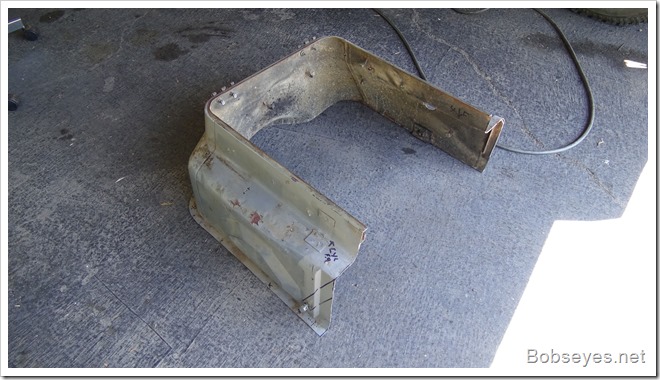
Worked on shaping the bottom lip in the van
I spent some time cleaning up the bottom lip area in the van, filing and straightening the metal until the bottom lip was flat and smooth. I mostly used a pair of channel locks to bend the metal back into shape so it will have a flat seal area that will mate with the rear engine compartment bottom lip properly for a good seal. I also used a hammer a bit to do some pounding to shape it up where it needed it.
Repaired the back sagging floor with a brace
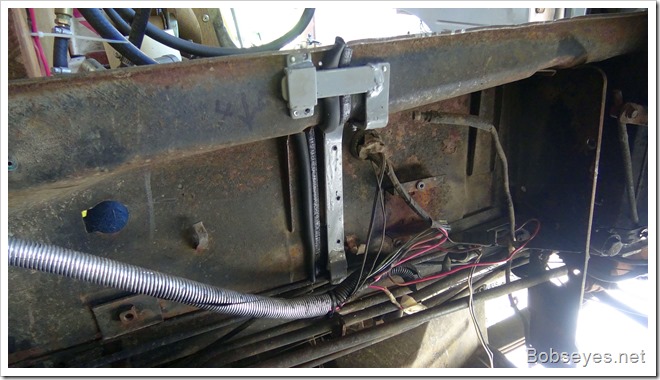
There was a problem with the back floor sagging where the rear of the engine compartment attached, so I got the pop rivet gun out to secure a brace to the under side of the steel floor. The spot-welds had broken over the years and sheet metal screws were used to mend the problem, so it was time to fix it right with the brace.
Here we have the rear engine compartment removed and ready to install a brace to support the back floor.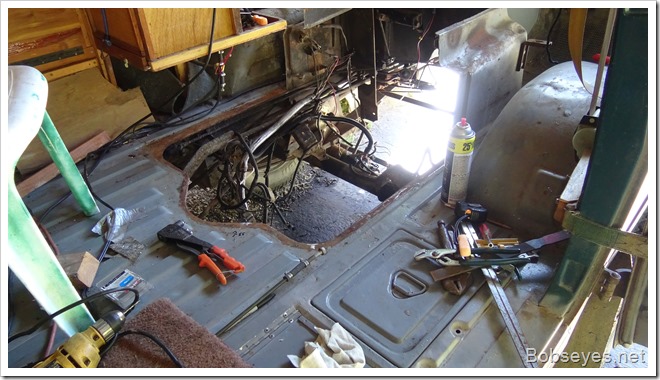
Now the floor is flat with no sag
I cut a piece of three quarter inch by three quarter inch by an eighth inch thick angle iron to fit between the sides. Then I jacked the transmission up against the floor with the angle iron on top. I used a piece of two by four wood on top of the transmission to push the angle iron up against the floor before I started drilling the holes to take one eighth inch rivets in each floor rib. I did not attach the ends, except with the rivets to the floor ribs as I felt this would hold the floor flat enough and I think it did a good job flattening out the sag.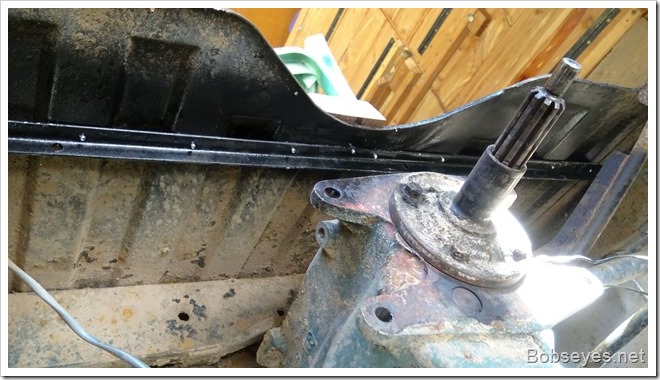
Moved the compartment cover back to provide a space for the rubber seal
I needed to have about three eights of an inch out of the metal where I cut the two pieces in half to have room to install a rubber seal and I was planning to bend one side over to get the space, but then I had an idea. Why not just move the whole box towards the back three eighths of an inch so I won’t have to bend the metal and that would also give me a little more room in the back for the big HEI distributor to fit better, so that should be better. The only thing was I didn’t think it all the way through, but things worked out just the same.
The quarter turn screws didn’t work out
I was also going to secure the bottom with quarter turn spring screws, but I found the ones I had not to be long enough to do the job, so I abandoned that idea for now. Instead, I decided to use metal steel roof screws which have an aggressive tread and a quarter inch hex head so they can be installed with a socket which is a lot easier than flat head sheet metal screws. I tried to maintain a three eighths of an inch space, but ended up with about a half inch on the right and three eighths on the left which should work ok as the rubber seal can be compressed to a max of one quarter inch and has enough rubber to fill this gap.
Screwed down the rear compartment
Here’s the rear engine compartment screwed down with the space left for the rubber seal which I haven’t applied yet. I need to put some draw or over center latches near the tops too. I’m also thinking of installing some one inch by a quarter inch straps in the seat mount holes on the inside front part to reinforce the seat mount holes. this will also give me a stronger place to mount the seat belts to the front half of the engine compartment to get it away from the back half as I don’t want anything on the back half to get in the way of it’s removal..
Screwed down and ready for the next step, but wait, there’s something I forgot.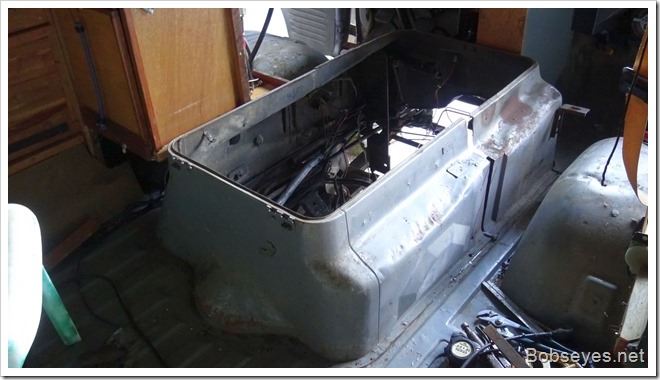
Will the engine cover fit now that I’ve made the bottom compartment longer
Since I moved the rear engine compartment back about three eighths of an inch, the top is stretched three eighths of an inch, but I forgot the cover isn’t stretched three eighths of an inch so there may be a problem getting the cover to fit the bottom part.
I was hopping the top had enough slop to fit so I put it on and installed the hinges and tried it out. Fortunately, the front cover latch is a spring loaded latch that had enough spring in it to still fit the not stretched cover. The top cover’s front lip just fit nicely over the bottoms metal lip in the front. So a rubber seal should seal this up and I’m good to go to the next step.
Here’s checking the top cover’s fit.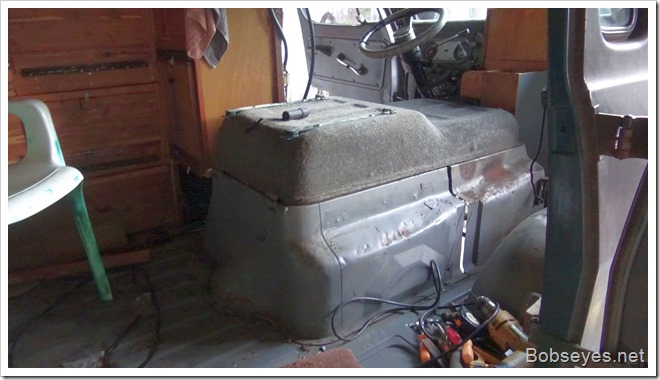
It got dark on me so I quit at this spot for the day.
A huge wedding was going on next door
While I was working on this my neighbor had a big wedding going on next door. Fortunately, the people making the music were real good. They played music until ten when it’s stop the noise time.
My neighbor had talked with me about it and warmed me about the loud music so I was prepared for it.
I had decided to not get upset with the loud music, but instead try to enjoy it playing through the forest, so that’s what I did. My neighbor plans to have more weddings at his place in the future, but we hope not too often.
That was my day working away on the old van engine compartment.
