Sunday August 7, 2016 Guerneville CA.
Another work on the old van engine conversion day
I started out working on the throttle linkage I started on the other day. The linkage comes in on the right as a rod, and is changed to a cable that goes to the left and to the TBI unit. 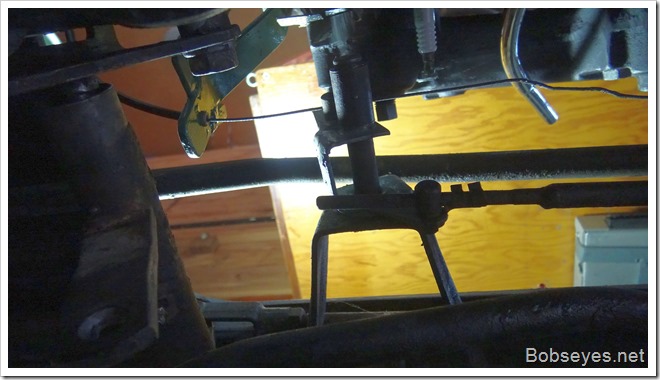
I got it hooked up but not calibrated yet as I wanted to work on the fan shroud as that was the main goal today. But at least it is looking good, like it might work.
Redoing the fan shroud with a template
I needed to move the fan shroud as it wasn’t lining up as good as it could. The easiest way to do that was to make a template out of cardboard. I found the one I used before to make the original shroud I had on the old six cylinder engine. The idea is to tape cardboard together to make a template that can be hooked over the shroud mounting bolts so the fan blades can be traced on the template.
This is the old template I tried to use. Too many lines.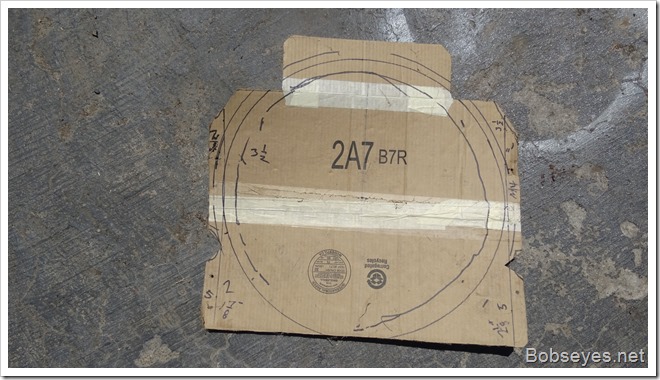
I installed the template onto the mount bolts on the radiator that the fan shroud would mount to. There are two bolts on each side. I then tried to trace the fan blades onto the cardboard, but I wasn’t being careful and I made a mess out of it that was too hard to follow.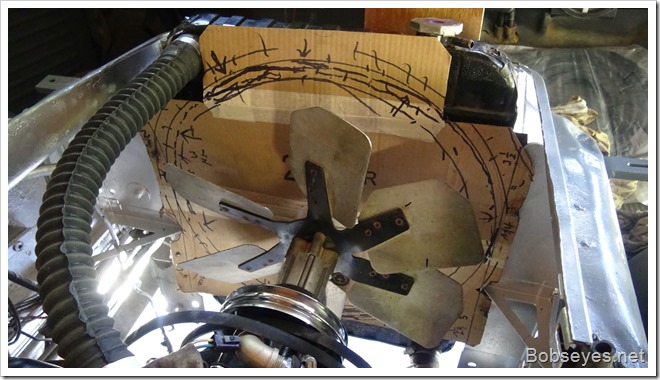
Turned over the template
So, I turned the template over and used the clean back side and started over.
It’s an eighteen inch fan and I wanted to make the shroud twenty inches for an inch clearance around the edges. I was able to use the old shroud and only had to drill the pop rivets out of the mounting brackets of which there are four. I’ve added another piece of plastic on the rib to make the new shroud wider as the new fan’s blades don’t get as close to the radiator as the old ones did. This added piece was placed over the barrel rib and really trued up the circle.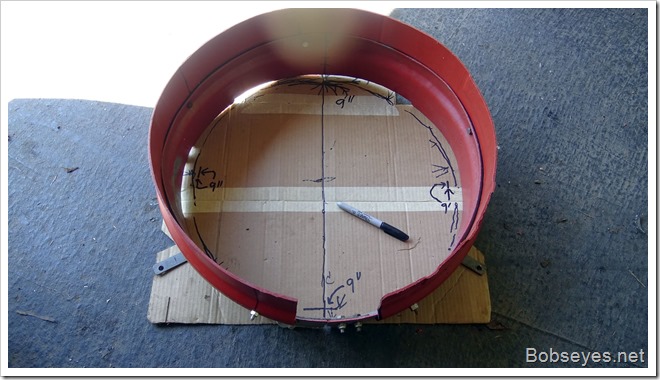
Pop pity pop
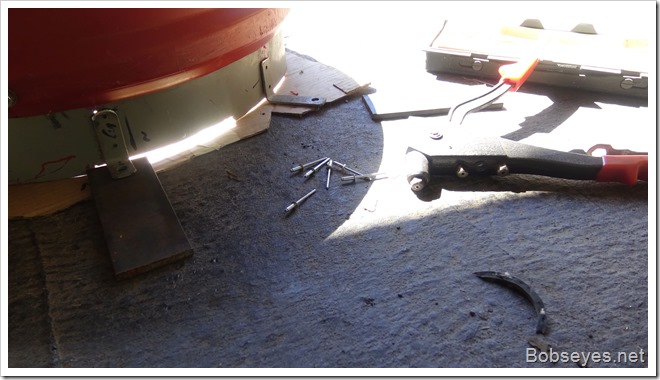
I used the mounting holes I had in the cardboard to place the metal brackets I made. I used pop rivets to mount the metal brackets to the plastic shroud.
Of course I put it on and took it off several times to make adjustments, but I was finally satisfied with the end results.
The finished fan shroud
Here’s the new fan shroud from the side.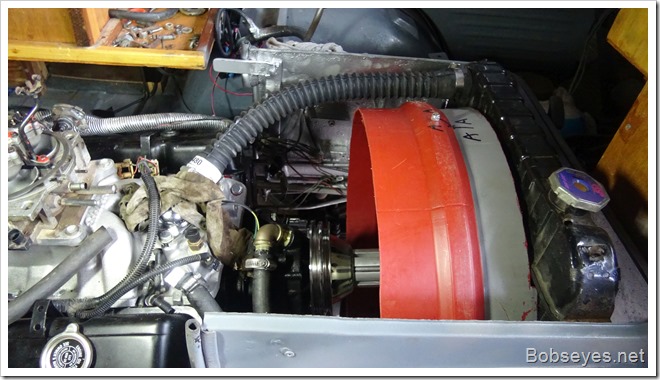
And this is the fan’s view of the new shroud.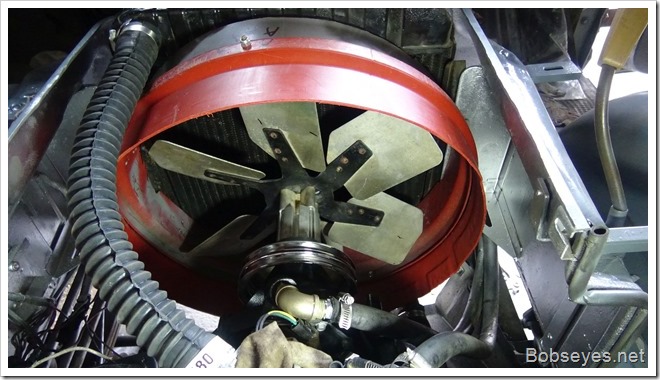
I used some quarter inch bolts and nuts to get the ends to meet at the bottom. Not sure why I didn’t put that at the top as it would be easier to work on in the future.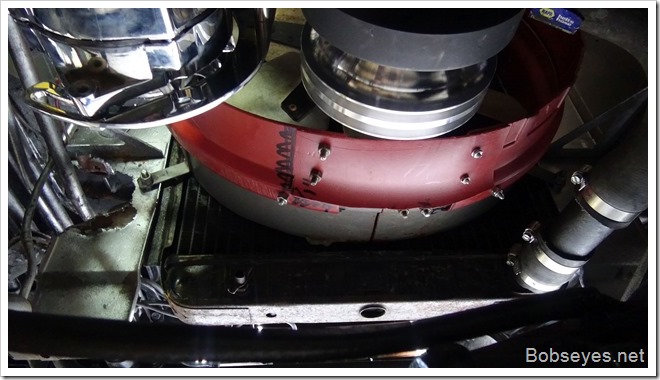
I think the fan shroud came out pretty good. It wasn’t too hard of a job, but it was a time consuming job and I’m glad that’s done.
Some other stuff done too
I also got the distributer mounted and I removed the old muffler system.
I still need to run the fuel lines to the injection unit and install the spark plug wires. And likely the last big job will be to straighten out the mess of wires that go to the engine. There’s two wiring harnesses with a lot of old wires in them of which some of them are no longer used. I will have to sort out all that spaghetti out and get it all hooked up.
Another productive day.
