Thursday April 23, 2020 Guerneville CA.
Ordered the van parts first thing
I had to place two orders for the van parts. One order for the broken spring shackle and the other order for a water pump and all the other stuff I needed for my van’s cooling system upgrade.
I gave two companies a call and got it done after a few questions.
All the new parts should be here in 5 or 6 days.
Checking out the incubator
I noticed the heat control switch and the activation pod were out of line and not functioning as it should.
Here’s the upside down incubator lid with the heat control switch in the middle.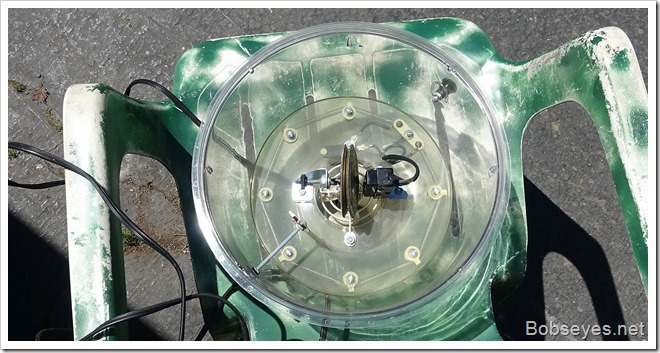
The mechanism was loose so I tightened up the nuts that hold the parts in place and got it lined up again. The little metal pin on the right has to hit the bellows to work right.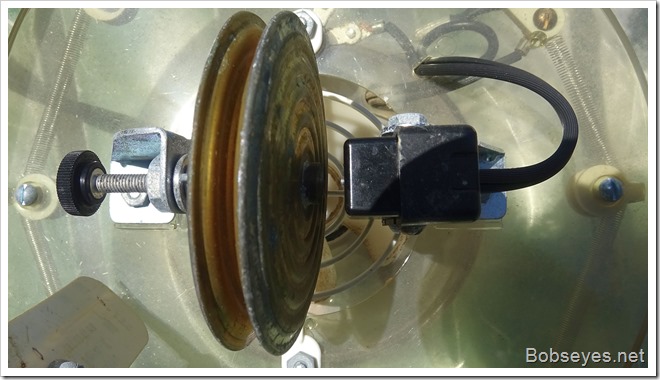
I got it all tightened up and adjusted.
Testing for heat control
Once that was done I plugged it in to test out if it would hold the temp accurately and adjusted it to specs, 100 degrees F.
It tested out and I got it adjusted and it held the temp so that was ok.
No auto egg turner
Looking at the incubator more I noticed it didn’t have an automatic egg turner something that should be done every 4 hours so that wasn’t a good thing as turning eggs that often is a pain.
Not enough eggs
It did have 16 slots for eggs that was supposed to be able to just turn the tray manually and the eggs would turn by hand but that didn’t work either as the bottom screen was warped and worse than that it would barely hold 1o eggs, anymore and the eggs jammed and they wouldn’t turn, not good.
However I thought I’d give the incubator a try anyway. So now I have to collect some eggs for it which I will do starting later today after they lay today’s eggs.
Adjusting the oyster shell feeder
I’ve notice some of my eggs have rather thin shells which means eggs get broken more easily. I suspect the oyster shell feeder isn’t working as it should and letting the shell bits come down to the bottom so the chickens could get to them easily to eat.
The green tube on the right is the shell feeder. I had to unscrew the bottom and lower it down so the slot inside was bigger so it works better now.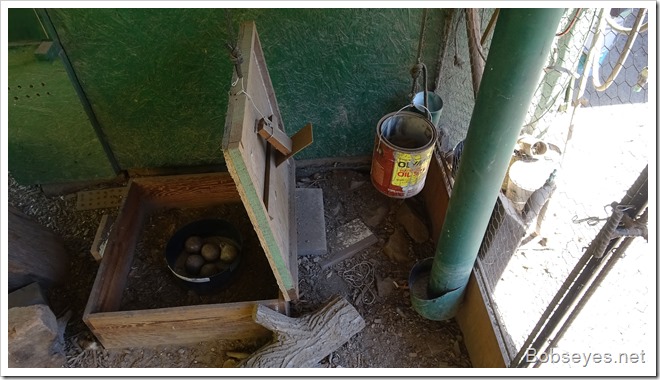
Let me out
The chickens are ready to be let out to graze today, just after 6 PM.
They almost run over me as I open the gate to let them out.
I’ve been watering the grass weeds and it’s paying off as the grass is really starting to grow now.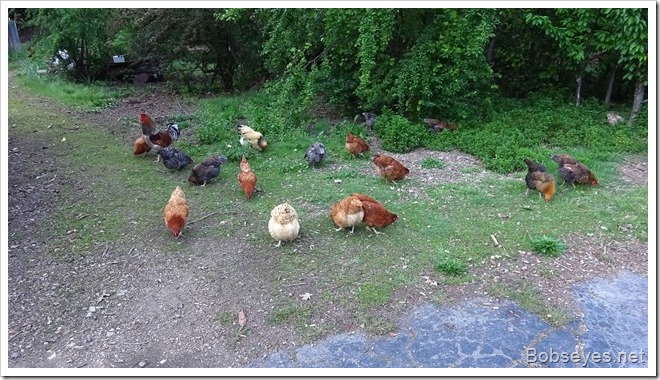
Carmelo my main rooster watching over his birds.
And the number two rooster always looking for a hen to jump on.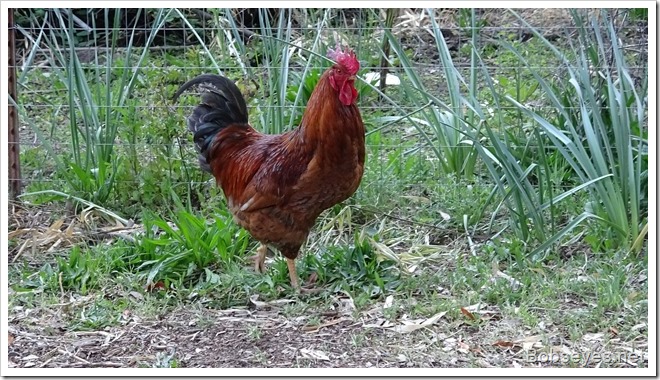
Collecting eggs
Towards evening I collected todays eggs to try them in the incubator to see how they work.
Here’s the nesting box with todays eggs.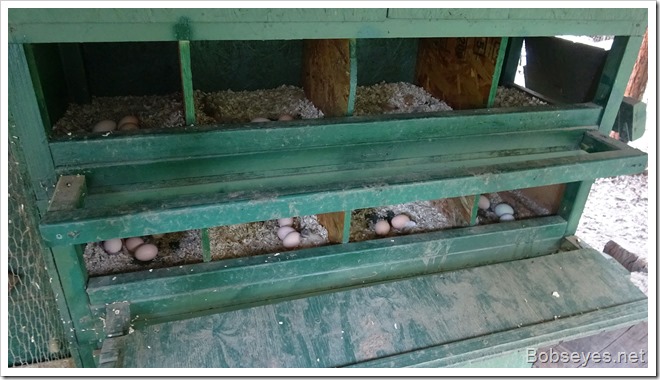
Here’s the eggs I collected today to try out in the incubator to see how the manual turner works or not.
Jammed eggs
Well I was disappointed in the manual turner as eggs jammed up and didn’t turn as they were supposed to and I found out I couldn’t put more then ten or so eggs in it or they got too crowded and wouldn’t turn.
Looking for a better incubator
I came back in the house and started researching egg incubators that hold at least 24 eggs and turn them automatically. I’m still checking them out.
My goal is to hatch out most of the chicks I need for the year all at once and get it over with. If I could get them hatched out earlier in the year I can harvest the meat birds in the fall instead of around the new year which would be good.
Nice day, I got my stuff for the van ordered up and found out how the incubator functions.
