Tuesday July 19, 2016 Guerneville CA.
Finishing up the compartment support brackets
I decided to stay home today and work on the van project. I started with installing the support brackets I made yesterday and painted. Since the paint was now dry, I installed both braces, the driver’s side and the passenger’s side.
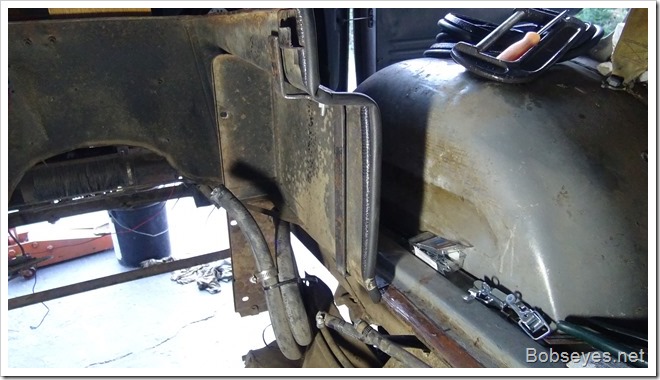
Here’s the brace on the driver’s side showing the guide I constructed.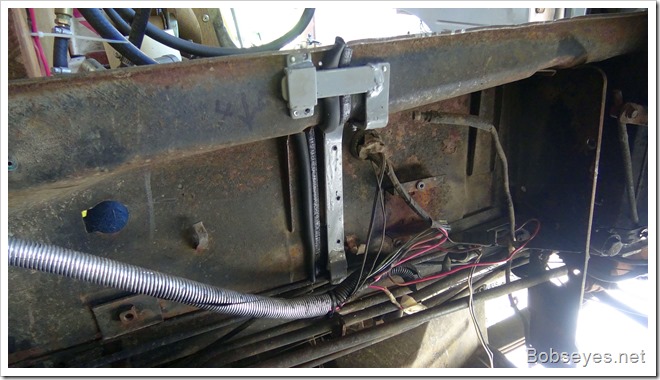
Bucket seat supports really firm it up
Those supports helped make things much sturdier, but the thing that made things the sturdiest was when I put the seat supports back on. These supports brought the engine compartment back in alignment. I made these supports a long time ago to install some newer bucket seats.
You can see the passenger seat support bracket here on the right side.
Here’s a closer view of it. It’s just a piece of three quarter inch steel box tubing mounted with five-sixteenth inch bolts. The back of the seat fastens to this brace.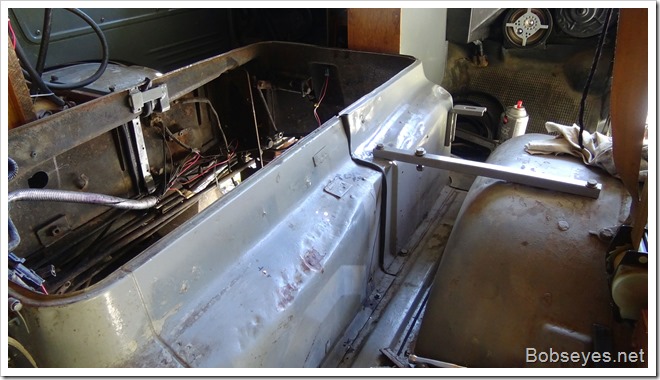
Here’s another view of the passenger side support brackets.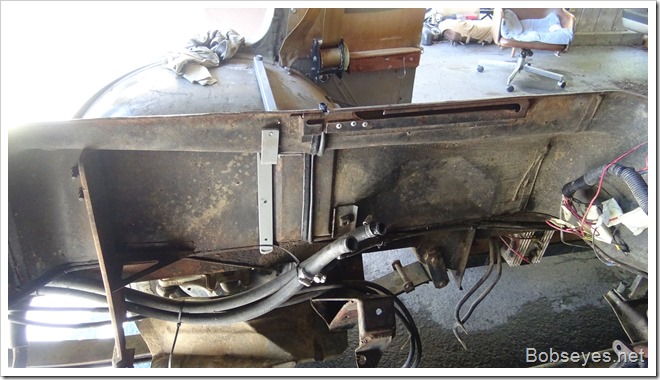
Pop rivets are too short
When I went to install the pop rivets to hold the support to the engine compartment, I found the pop rivets I had were too short, so I need to get some longer pop rivets.
Drivers side seat support
Here’s the seat bracket and support on the drivers side. You can also see the hole I made in the engine compartment for the computer wires to get through. You can also see the computer mounted under my cabinet, just below the masking tape.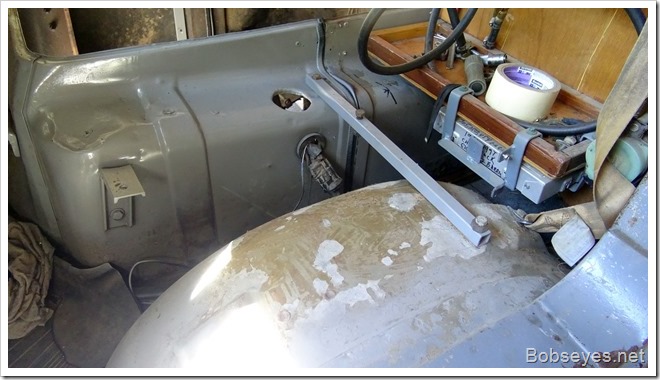
Finished screwing the removable compartment down
The braces were pretty much done, so I drilled pilot holes for the one quarter inch hex headed steel roofing screws I had to hold the rear compartment down.
Here’s one of the screws and yes I know things could use some paint.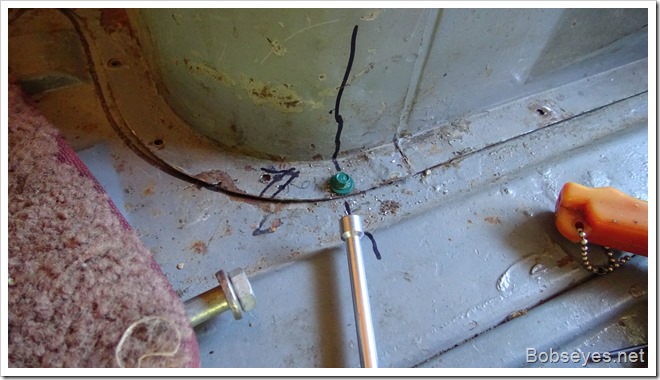
Washed the hood
Next I needed to wash the carpet on the engine hood as it was real dirty, so I soaped it down and hosed it off and let it dry here.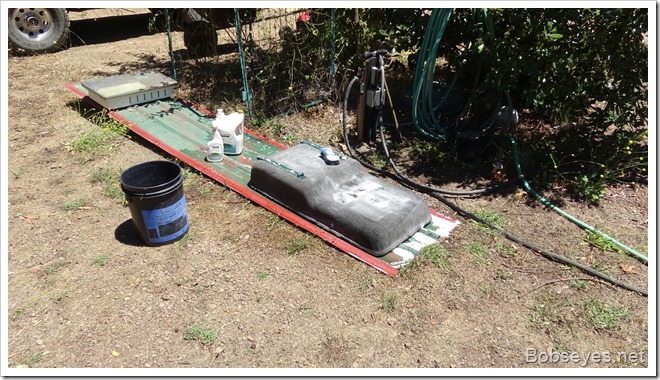
Pressure washed things
Once that was done, I got the pressure washer going and washed what I could under the van. Once it was dry, I started putting some paint on things. Give me a spray can and watch out, I’ll paint every thing in sight. I painted the inside of the engine compartment and the outside and the van undercarriage as much as possible.
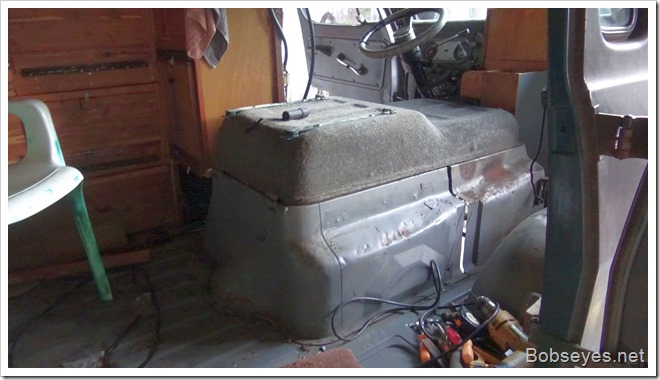
Things are actually fairly cleaned up and painted in this picture.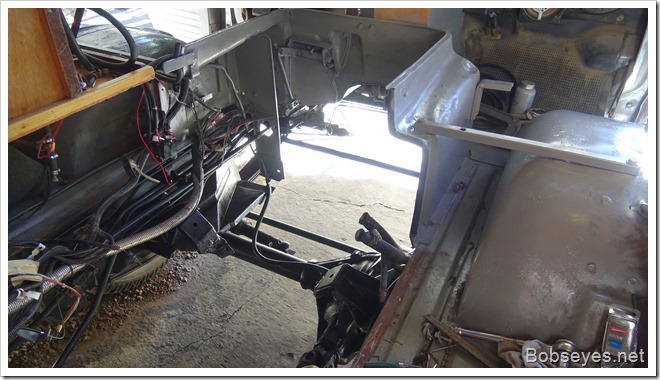
Cleaned up and painted
I cleaned up the rear compartment piece and sprayed it with paint. I started to do the inside, but decided I’d get some silver metal paint to do that.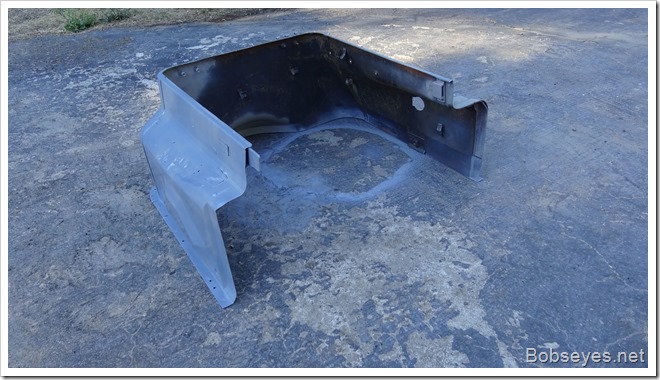
Doing the things that need to be done to install this new engine is sorta like reading a good book. The nearer you get to the end, the harder it is to put it down. Of course, in this case, it just means I have to work more. :O) Varrrrrroooooooooooooooooommmmmmmmmmmm. Varrrrrrrrrrooooommmm.

