Wednesday July 29, 2015 Guerneville CA.
When I woke up this morning I just couldn’t seem to get it going, so I decided to stay home for the day and rest up. After some puttering and a couple of naps, I started working on the van fan shroud as I needed to get it done for a trip I’m going on soon.
Cutting the barrel
I’d cut a four and a half inch piece off of the plastic barrel last time I worked on it. I included a small rib part of the barrel on the back side of the new shroud as it seemed sturdier then without it.
This was my work area. What’s left of the barrel I cut it from. The cardboard thing is a template of the mounting bolts. I’m using the radiator mounting bolts which I have extended for this purpose. I mounted the cardboard template in the van and spun the fan with a marker on the end of the fan blade, just held by hand and drew the fan outside diameter on the template.
My fan is eighteen inches and the shroud was about 22 inches so I had to reduce it to 20 inches as that was all that would fit in the van spot anyway.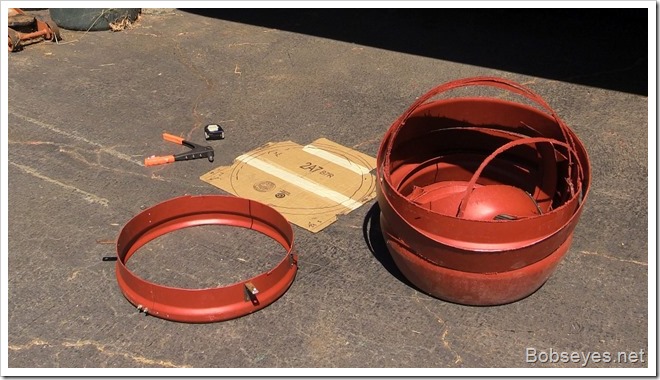
Pop rivets
I put the shroud on the template and drilled and fastened things with pop rivets. The mounting ears I made out of some flat bar.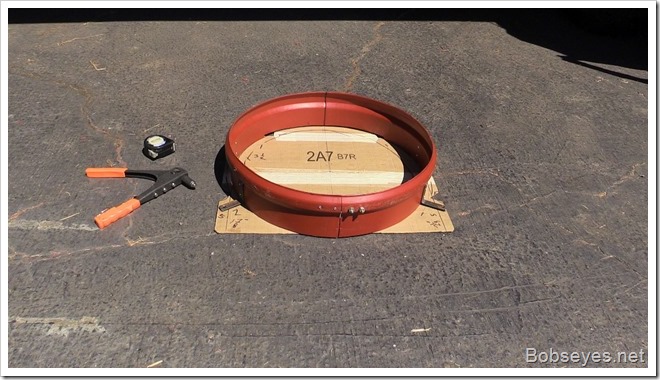
Joining it together
I needed to join it, as it has to come apart to twist it off the fan blades to get it on or off the van for repairs. The rib provided a spot to lay a small piece of metal in to fasten it together once it was installed. You can see I used pop rivets and two quarter inch bolts so it can be taken apart. I had to bend the metal bar a bit to match the circle.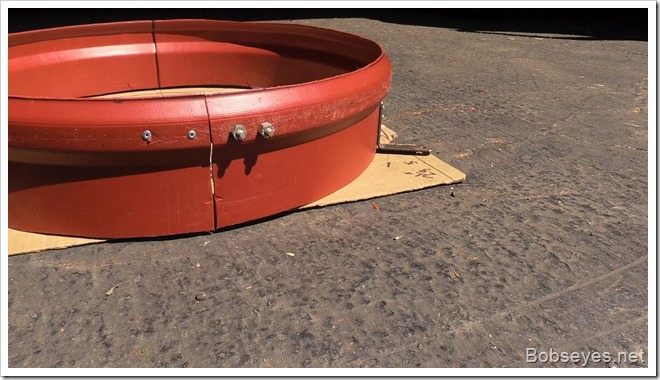
After thoughts
If I was to make it again, I might move the split part nearer the top of the shroud as it would be easier to work with there instead of down below. However, if I just unbolt the bolts that mount it to the radiator, I can spin it to get the split to the top anyway, where I can work on it.
Here’s the backside of the joint in the recessed rib.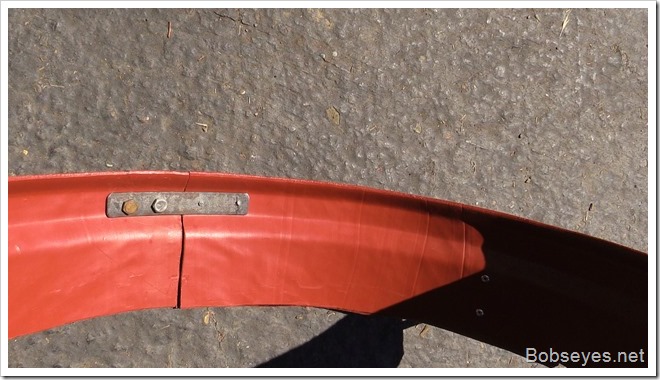
In the end, I had to trim some of the plastic off just above the metal strap to give the main engine pulleys some more clearance, so that might be another reason to move the split closer to the top of the shroud as it is mounted.
I put some paint on it, mostly on the metal parts. The new shroud is shown in it’s split mode here.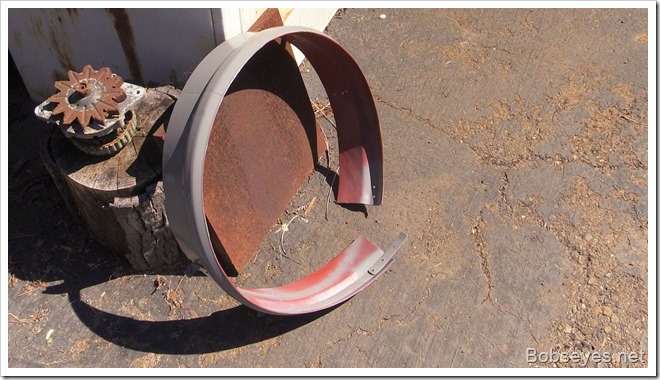
Checking it out
I installed the new shroud and inspected it for clearance all around. It looked good, except I thought the bottom was a bit too close to the main engine pulley, so I marked it and took it off and trimmed a bit off in that part and put it all back together again.
Installed
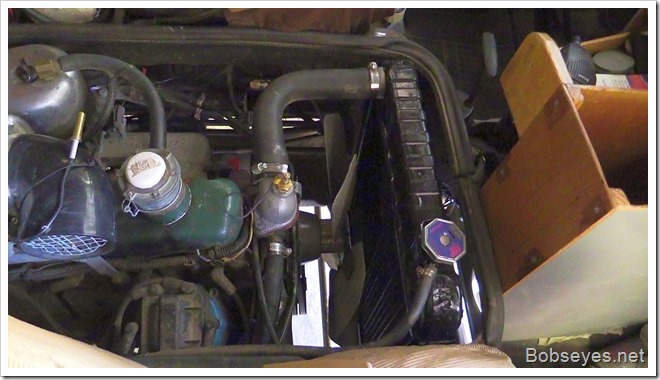
This is the newly constructed fan shroud installed in the van.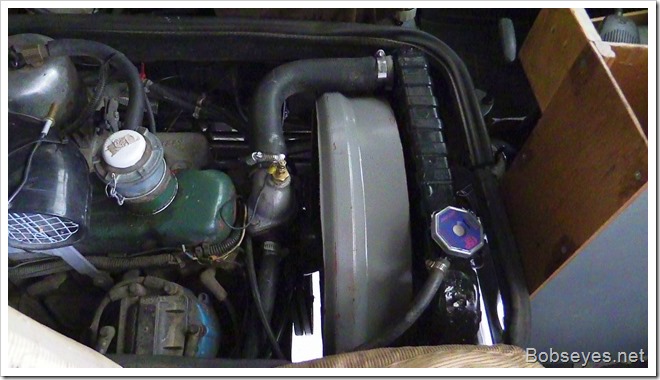
What might happen when I start the engine
I rechecked the clearance around the blades and checked it over again. I turned the key and started the engine and all worked with no unforeseen noises or clanks of any kind which is a good thing. :O)
I think the shroud made a big difference in how much air the fan is sucking, as it’s really blowing back there by the engine now.
I got done with the fan shroud just before dark, so that was about it for the day.
