Saturday May 21, 2022 Guerneville CA.
Van folding shelf installation
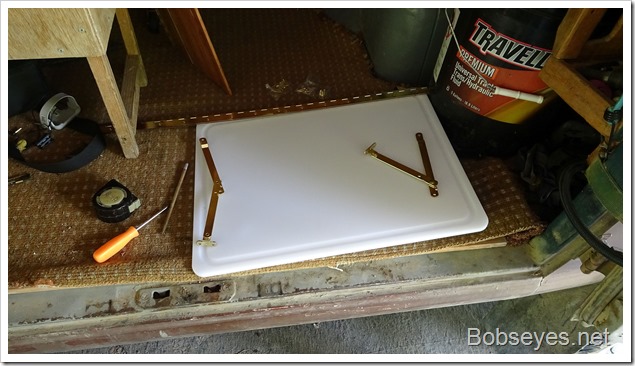
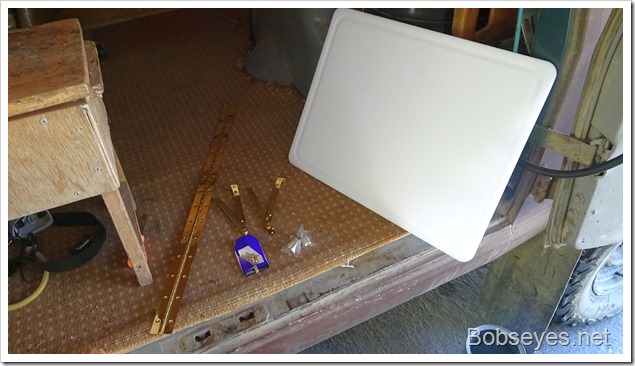
Now that I had all the parts I needed it was time to do the shelf installation.
Here’s the two folding shelf brackets I’m going to install.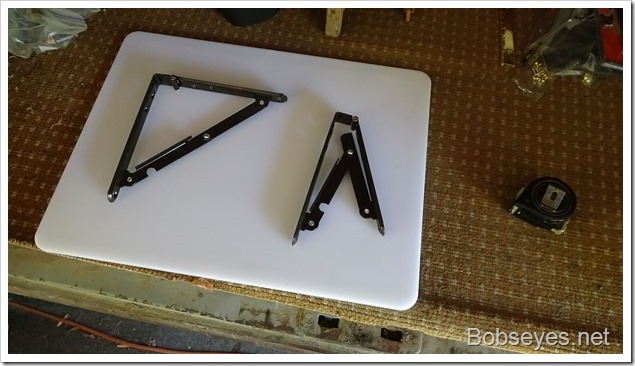
Folding brackets mounted
I mounted the brackets first on the door so I’d know where to put them onto the shelf. I used a one inch spacer board to screw to the brackets and then I could screw the shelf to that to give the shelf enough support.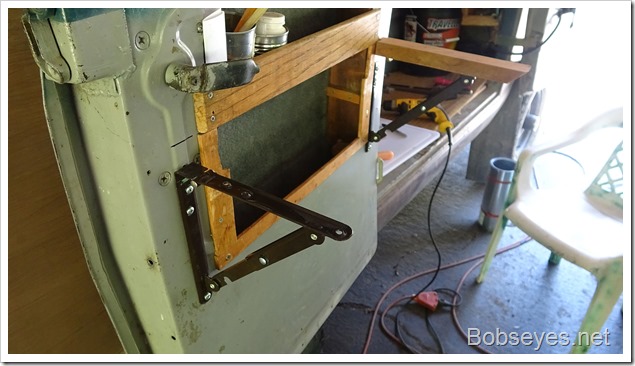
The shelf
Once I got things all screwed down I tried it. The only problem I had was I didn’t take the slope of the door’s side into consideration. It wasn’t straight up and down but had a slope to it so the shelf had a bad tilt to it where the outer part had a lean down to it which sorta shows here.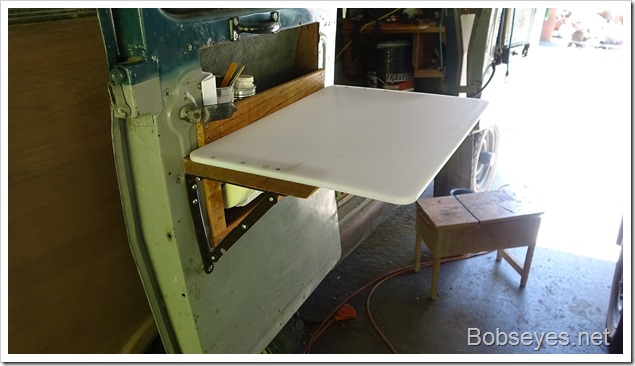
Spaced out
The easiest way to remedy that was to put a small spacer on the bottom of the bracket which I did.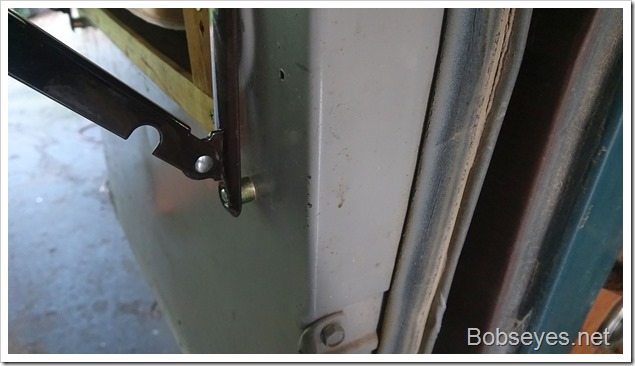
That leveled up the shelf pretty good.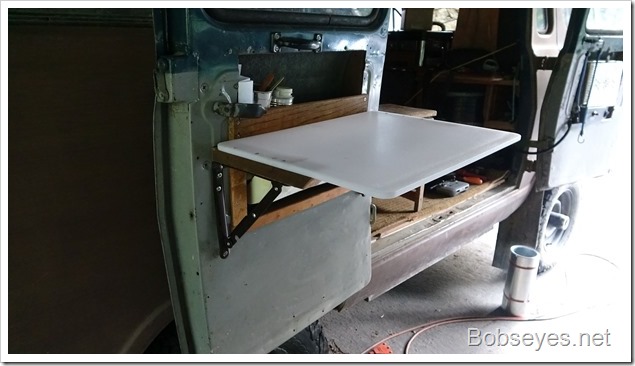
Folder down shelf
The new shelf in it’s folded down position. It covers up and holds down the paper towel roll under it so now the wind can’t blow the towels away.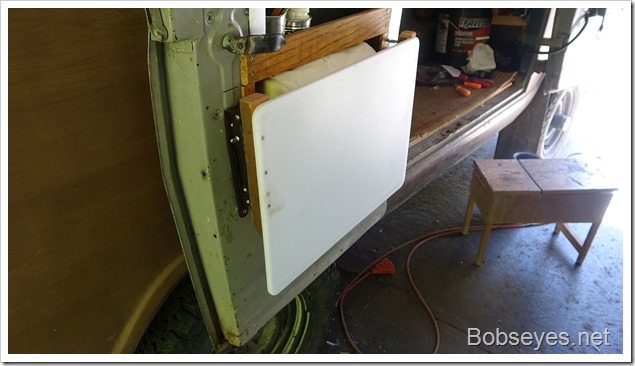
Testing the shelf out
I’ll give the new shelf a good test out on my upcoming trip to Usal on the Lost Coast just north of here a bit, which I plan to do soon. If there’s something I don’t like about it, I’ll fix it.
After that I did some chair hopping around the yard and had a nap too.
New drone and some practice
Eventfully I got my drone stuff out as I wanted to do some practicing.
Hardware failure
The drone I did the repair on the arm held but. When I tried to use it, it gave me a hardware failure message. Hummm. I looked that up and found out that usually meant a motor on one of the arms had failed so I ordered a new arm that came with a new motor.
It cost 45 bucks which I thought was a bit high considering a new drone cost 300 bucks.
New stuff
I decided to buy the new arm and another drone that way I’d have something to use while I worked on the broken drone as there might be something else wrong with the drone besides the motor.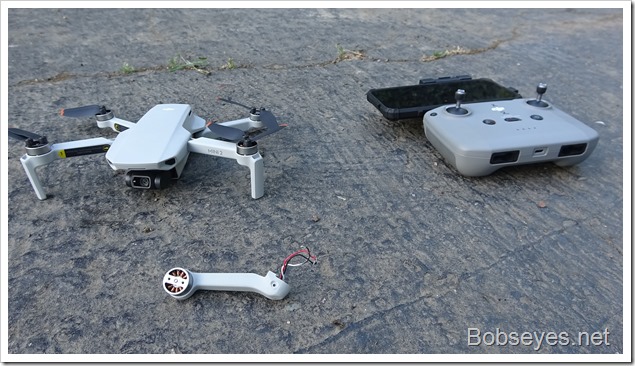
This new arm costs about one sixth of a whole new drone, a bit much I think and now I have to install it.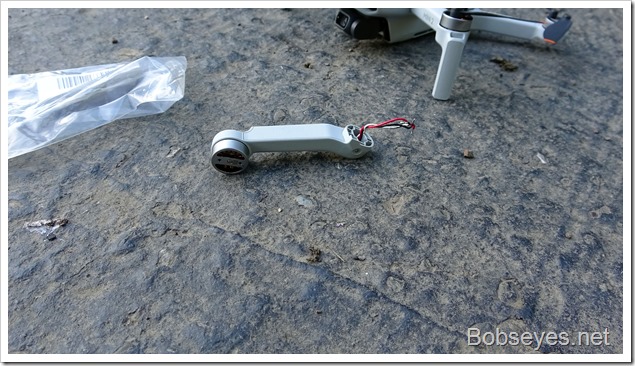
Repair policy can be bought
They do have a repair policy you can buy if you buy it right after you buy the drone and before you use it, but that meant shipping it and waiting. And that was about half the price of a new drone.
So I opted not to buy that and get the experience of fixing the drone and becoming a drone mechanic instead.
Setting up the new drone and flying it
Setting up the new drone requires going online and going to the DJI website so since my internet is down I had to go to my brother’s place to get that done.
From my research in repairing the drone I found out the motors can get sand and dirt in them which isn’t that easy to clean out. I saw a video of a guy that started the drone in his hand and just threw it in the air and it was launched. He then caught it the same way with is hand. This had the advantage of keeping the drone off the ground and off the dirt.
I was a little afraid to try launching this way the first time and thought it might be a good idea to watch that video again before doing that, just in case. I’ve landed it in my hand before so I was ok with that.
Landing platform
I had this piece of cardboard so I used it as my take off and landing platform to keep out of flying dirt particles which also worked well.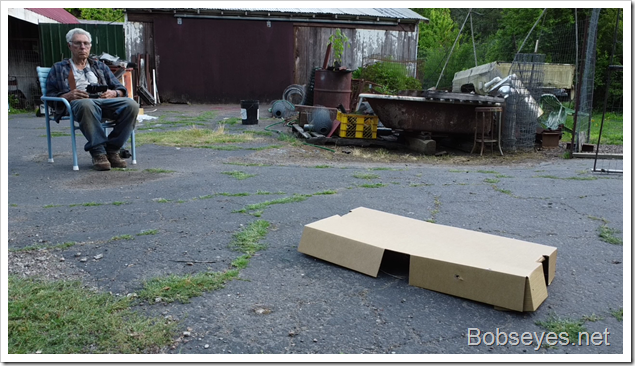
The drone just took off and is above the cardboard box and ready to fly around the yard.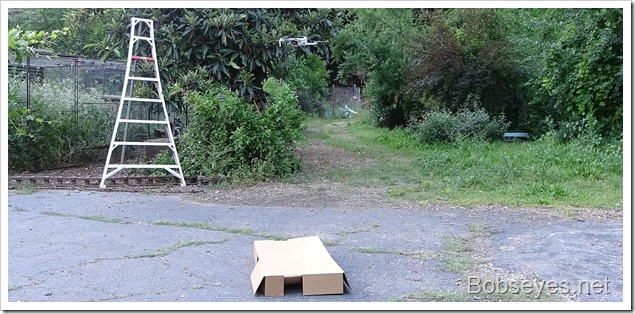
Not in photo mode
I flew it around the driveway a few times then went higher to take some pictures of the area. But I screwed up and had it on video somehow so that was all I got except for the one photo of me sitting in the chair.That’s one of the reasons I need to practice flying it.
Not wanting to crash again I flew it in the slowest speed and was very cautious.
I flew two batteries worth which is about an hour of flight time.
Nice day.


